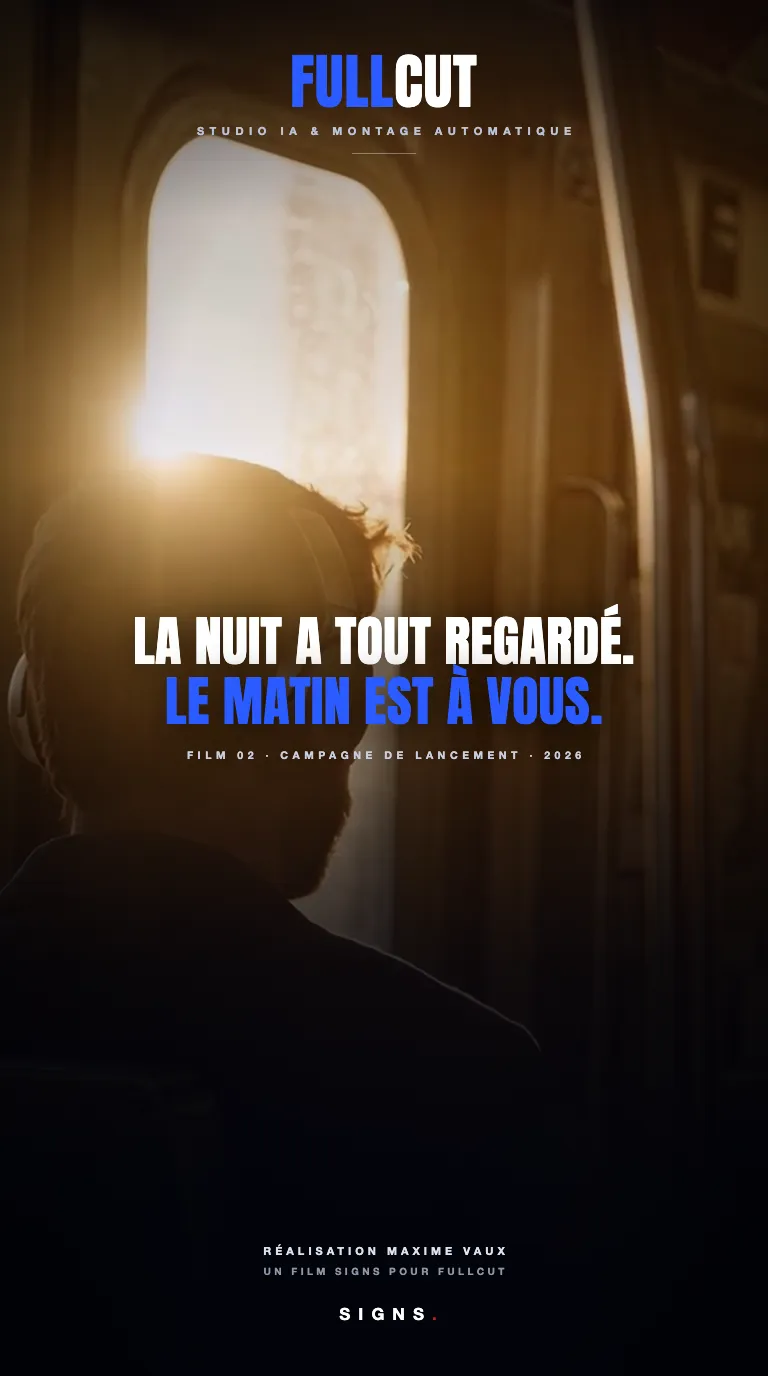
For the launch of FULLCUT, an editing aid combined with an AI studio, we needed an ad campaign. We decided not to take out a single camera. Three films in a few weeks, no shoot, no actors, no set: every shot is generated, and everything that comes after, the edit, the grade, the sound, the text, is done by hand in DaVinci Resolve. I am going to tell you how we went about it, step by step, with what worked first time, what we had to redo, and a few technical notions that saved us time. This is not a tutorial, it is a production notebook.
Step 1: the visual charter, before a single prompt
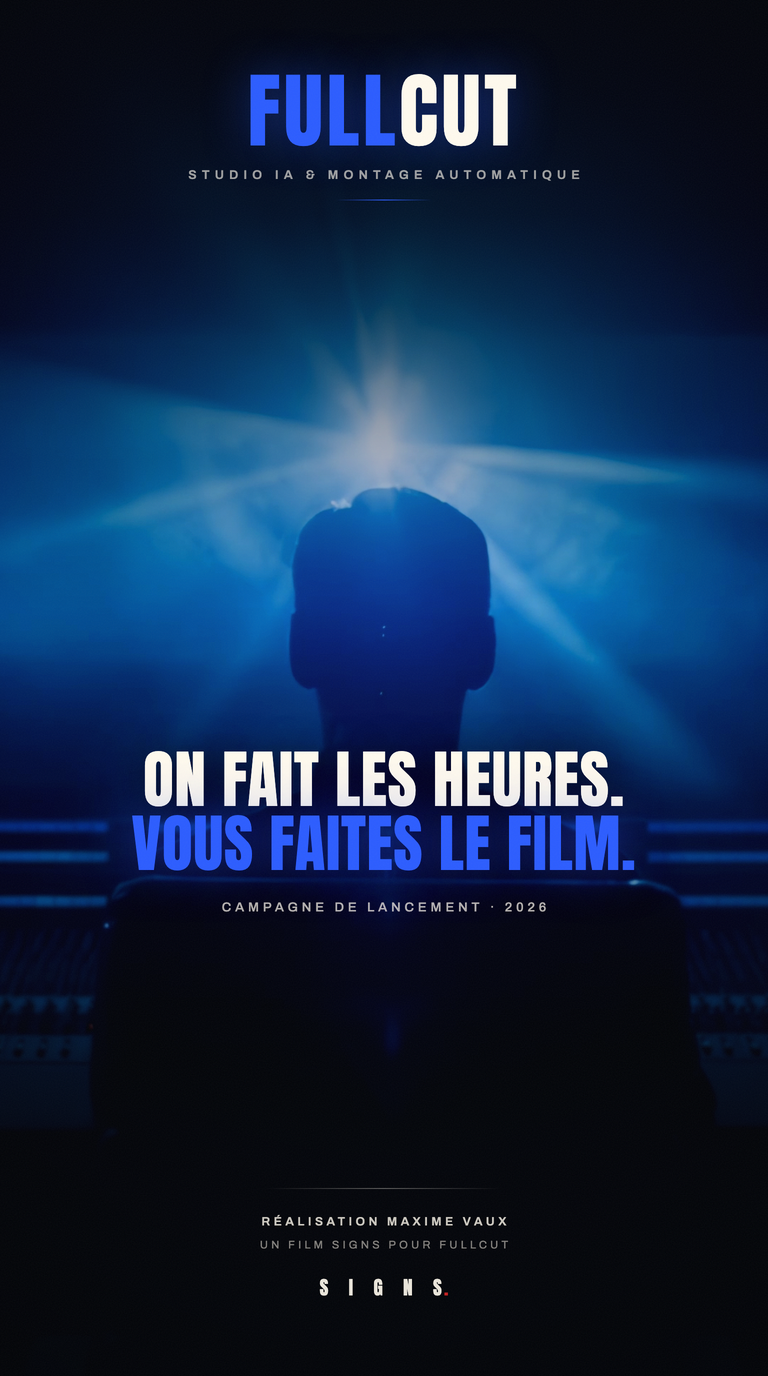
I did not start with a model, I started with a page. For the first film, the charter fits in three words: blue night, hard light, soft air. Black is never grey, it is tinted with blue. One light source, hard, off-frame, cutting out the contours. A light mist, and that is the only softness allowed. The reference, and I own it, is the perfume ad: neon, night, a single gesture, no explanation. That page also holds the palette (a blue-tinted black, an electric blue, a lighter blue for halos, a cream reserved for what is human), the prohibitions (no warm light, no orange, no lens flare, no handheld camera) and the grain, fine and regular, that of a 35mm negative pushed one stop. If you notice it, it is too strong.
We actually got that grain wrong at first. My early prompts forbade it, because I was thinking product photography. The references I love all carry some, and it is part of what makes them look expensive. We put it back, in the right dose.
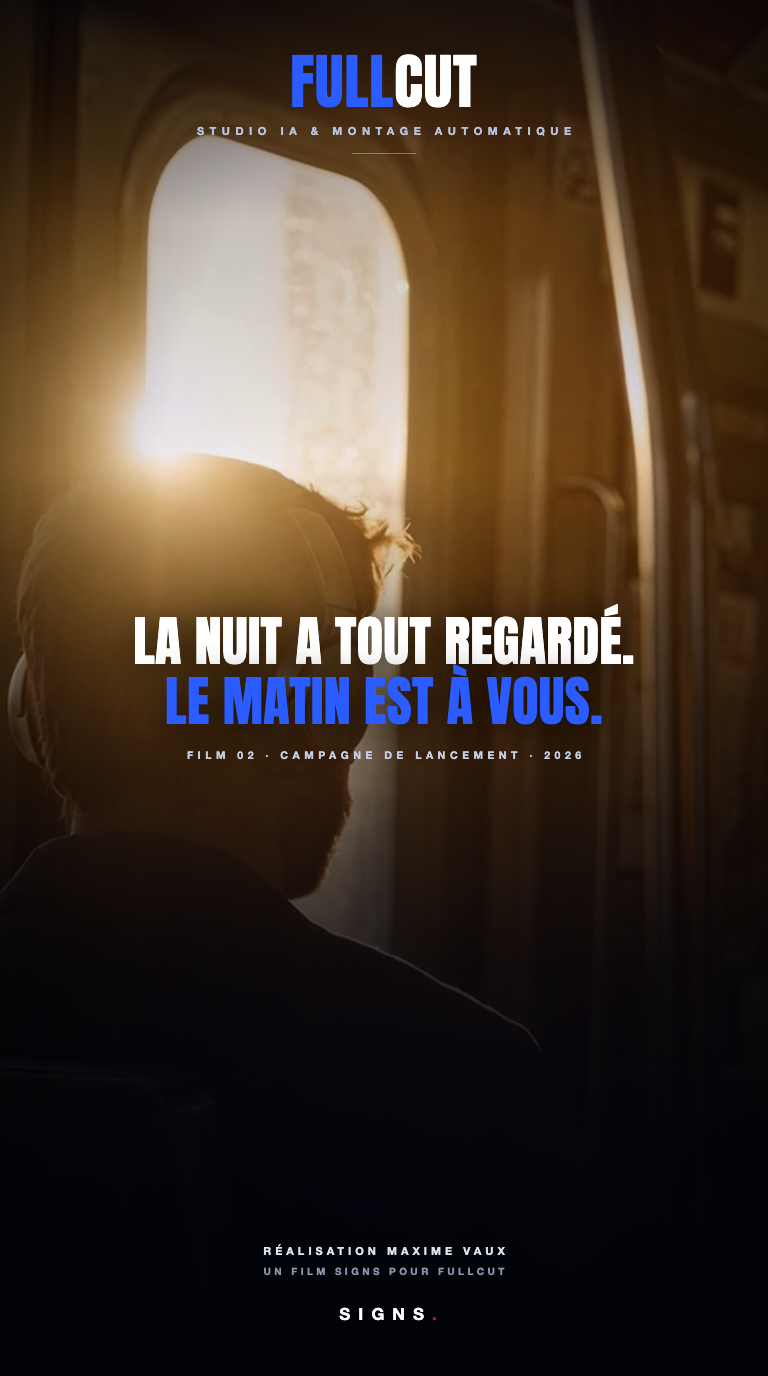
What matters here is that this charter belongs to the first film, not to the campaign. The second film takes place the next morning and does exactly what that first page forbids: golden light. The third takes place in a real edit suite in the evening, cold screen on the faces, warm lamps behind. Three films, three lights, so three different mood blocks, each pasted at the end of every prompt of its film and never changed within the film. That block is what makes the series. Without it, every generation goes its own way and after twenty renders you have a moodboard. With it, a hundred different renders belong to the same world. And a shot that breaks the charter cannot be rescued in the grade: it gets redone.
Step 2: write the film shot by shot, not in one sentence
A video prompt, for us, looks like a shot list. At the top, the hard instructions the model reads best: total duration, number of shots, “No subtitles” and “No BGM”, because otherwise it invents captions and slaps on a music track. Then a one-line summary. Then the shots, one per line, timestamped to the second, with the framing, the camera move, a single action, and “Hard cut.” at the end of every line. Something like: Shot 3 [0:10-0:15] [Close shot, locked-off], a hand already resting on the jog wheel, the hand lifts and slides out of frame to the right, nothing else moves. Hard cut.
Two rules of that shot list cost me renders before I respected them. First: one action per shot. Chain two in the same line and the second is simply dropped, and that is not a setting you can change, it is dramaturgy. You chain them in the edit. Second: the character is already moving when the shot opens. A shot that starts with someone starting a gesture smells of a render from a mile away. Four to six seconds per shot, never more, the model drifts beyond that. And no generation exceeds thirty seconds, that is the model’s limit and it is mine too: a longer film is edited from several generations, it is not generated in one go.
The good surprise came from the first film, the teaser. I thought a prompt describing six shots would render three. Wrong. Two 30-second takes, 721 frames each, and all six shots are there, in order, at the requested durations, cut clean every five seconds. And the two takes are not equal shot by shot: the timeline of one is far better, the empty chair of the other too. The final film is an edit of both. Choosing, assembling, matching, that is exactly the work we do every day.
Step 3: references, or how to keep a character from one shot to the next
A model that only has text redraws everything on every shot: the face, the room, the jacket. For the shots to belong to the same film, you give it reference images, each with a narrow role. In the second film, the woman in the green jacket you pass in the crowd at night is the same one who sits down in the sunlit office in the morning. That does not happen on its own: her board is supplied to the model, and she is described the same way in every shot she appears in. This film is also the one where I overturned the charter, with a warm lamp from the very first shot, a woman reading under her lamp, then the underground at dawn, a backlit street, an office flooded with sun. Blue only lives inside the screens. That is the subject of the film, the night for the machine and the morning for the editor, and that is why this film has its own mood block.
Two references need special treatment. The logo first: we never ask a model to write FULLCUT. It will write FULCUT, or FULL CUT, or one letter too many, and never the same way twice. The only reliable path is to give it the wordmark already composed as the first frame and let it move the light around it. Same logic for any proper noun: the model does not correct your approximations, it renders literally what you write. Then the software interface: it is never generated. When it appears on screen, it is a real capture, made on a demo project, inserted in the edit or supplied as a reference with the strict instruction to change nothing. A model that invents an interface makes you doubt the real one.
Step 4: generate, locally first
We work with two engines. MiniMax H3 runs locally, on a dedicated workstation, through ComfyUI. It is our lab: every attempt is free, we iterate fast, and it is where we measured almost every rule in this notebook, the single action per shot, the exact spelling, the logo we do not write. Nothing leaves the machine, which matters for what comes later. Seedance 2.5 takes over for the final films, in reference-to-video mode: we give it the starting images and it animates them. For the last film we also tried the models released over the summer, Flux 3 first of all, because on faces they make a real difference.
We always pull several takes of the same prompt, and we check four things on the first render before launching anything else: do the cuts land on the requested seconds, is the subject already moving in the first shot, is there any invented text, and is the film’s mood held, no orange in the night, no blue outside the screens in the morning. If twenty-four seconds out of thirty are good, we rewrite only the shot that fails, never the whole prompt.
Step 5: directing performers who do not exist
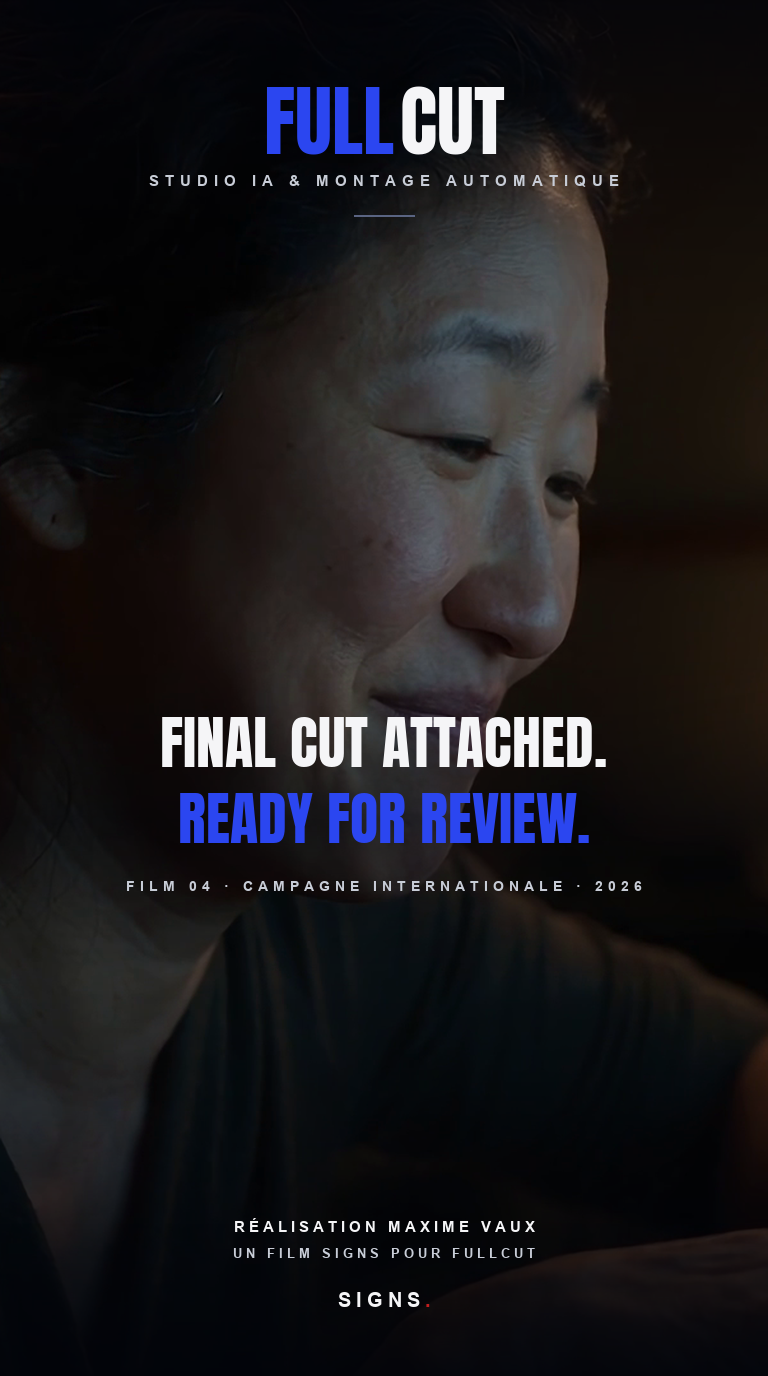
The third film was made for an international audience: on-screen text in English, no voice-over, a music track and a single gasp of surprise. Its prompt is no longer a paragraph, it is a JSON file, and it is the closest thing to a shooting book I have written for a machine. It declares the format, 16:9, thirty seconds, 24 frames per second, sound generated with the picture. It lists seven references: a character board, a board of the edit suite, four exact captures of the interface, one per stage of the software, and the logo. For each one, what it locks (same face, same wardrobe, same furniture, same time of night) and what it may not touch: an interface capture must influence neither the character, nor the room, nor the grade. It spells out the only text allowed on screen, word for word, from the menu path in Resolve to the sentence in the email. Then nineteen beats timestamped to the hundredth of a second, each with the action, the focal length, the performance and the sound. And at the end, some forty things we do not want to see, from the sixth finger to the redrawn logo.
That file is where what you could call directing AI actors gets written. The tiredness in the eyes, the breath held back, one eyebrow lifting, the restrained “Whaaat” when the project sorts itself, and at the end an editor stretching, arms behind the head. Micro-expression by micro-expression, with one instruction I care about: no advertising smile, no theatrical panic, competent, tired people, not caricatures. The camera follows the same logic: a little handheld while the editor is exhausted, and it settles as soon as the software gets to work. One focal length per use, 28mm for the opening, 85 for faces, macro for the eye with the timeline reflected in it.
There are still mistakes, and I would rather say so. Ask Flux 3 or Seedance 2.5 for a tear and two of them run, one per eye, perfectly synchronised. A six-fingered hand now and then. A logo that redraws itself if you let it. With time for the creative work, all of that gets fixed: you redo the shot, you change one line, you re-cut.
Step 6: the edit, the grade and the sound, like on any other film
Once the takes are rendered, we are back in Resolve and the craft takes over again. First trap: automatic scene detection finds nothing on dark blue shots against black, the difference between two frames on either side of a cut is too small. So we cut by the clock, every five seconds, since that is how the prompt was written. Second thing: two renders of the same prompt do not give the same black. We grade to put everyone back in the same night, and we lift the blacks very slightly before export, because platforms crush dark scenes and the charter’s fine grain is what breaks the banding.
All the text is composed in Resolve, never in the model: the subtitles, the cards, the wordmark. The sound is laid in the edit too. The model generates some, and it serves as a sync guide, not as a final mix. We gave ourselves a simple sound rule: one strong event per film. If there are two, there are none.
Step 7: one rule I do not negotiate
No client footage ever goes into a model, ever. The only images we send to a generation service are the brand assets of the project concerned. The shots we need are generated for the purpose, the interface captures are made on a demo project, without a single client name on screen, and the local lab lets nothing leave the machine. It is the simplest answer to the question of rights over our clients’ films. I laid out our position in what we do and what we refuse in AI films. And as with everything that leaves our studio, nothing starts without a validated storyboard: here, it is the prompt.
The three films are in the portfolio, in the AI Films category: “We do the hours”, “The night did the watching” and “Ready for review”.
Frequently asked questions
Is a 100% AI video really 100% AI?
Every filmed shot is generated. Two things are not: the software interface, always a real capture, and all the work around it, the charter, the shot list, the choice of takes, the edit, the grade, the sound and the text, done in DaVinci Resolve. AI replaces the set, not the studio.
Why generate locally with MiniMax H3?
Because every attempt there is free. That is where we work out the prompt rules, one action per shot, exact spelling, logo as first frame, before launching the final renders on Seedance 2.5. And nothing leaves the machine, which settles the confidentiality question.
Why write prompts in JSON?
Because a thirty-second film does not fit in a sentence. The JSON sets the format, the references with their role, the exact text allowed on screen and a timestamped shot-by-shot timeline. It can be re-read, versioned and corrected one beat at a time. It is the storyboard of the AI shoot.
Do you use your clients’ footage to train or generate?
No, never. No client media ever goes to a generation service. The only images sent are dedicated brand creations, and the shots we need are generated specifically for that use.
Wondering what a 100% AI film, or an AI-augmented one, could do for your brand? Write to us. We reply within 24 hours, and we will tell you frankly what AI can do for your project, and what it cannot do yet.